Finishing Touches
The Little Things That Finish Off the New Interior
Here I'll show you the final finishing details that I added to really make the interior look brand new and professionally done.

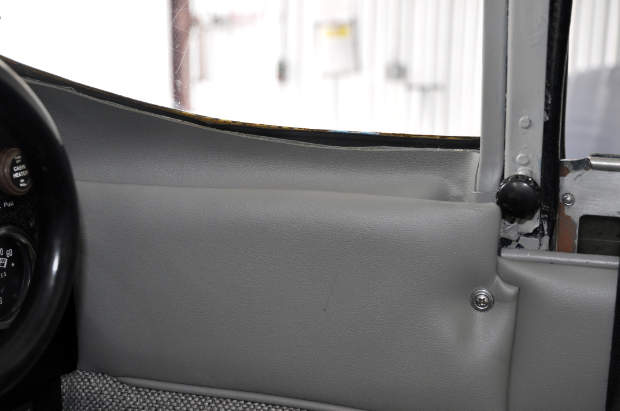
Those Ugly Metal Parts on the Side of the Instrument Panel
Covering that ugly hardware under the side of the windshield that is not covered by the Airtex side panels really makes a difference. I used spare gray vinyl cut from the big rectangular cover piece that I did not need. You can order any of the vinyl or cloth fabrics by the yard if you need them. I cut the vinyl to fit and used contact cement to carefully glue it in place.

Lining the Trim Lever Area
I used more of the spare vinyl to line the fuse wall behind the trim lever opening. This keeps your eye from being distracted by the non-uniform surface behind the panel.

Baggage Compartment Interior Sheet Metal Painted
This area use to be dark blue and just did not look finished with the new gray-tone interior. Painting it in the light gray color really brightened up the interior of the plane. It looked so good that I ended painting all of the the metal in the interior including things like the windshield frame.

Rear Window Area
If you have the large rear windows with the rubber gasket, you should remove the rear windows and gasket to paint the sheet metal.

A Good Place for the Data Plate
I used the "hooks" side of industrial strength Velcro to mount the baggage weight placard and the data plate on the Airtex cloth.
Good Luck with your interior upgrade. I hope these webpages will motivate you to replace your interior and to realize that you can do this yourself.
Return to New Interior Main Page
Brian Sanborn N3044H #3669