Nose Wheel rework (early type)
The Ercoupe nose tire is a study in itself. Originally of magnesium alloy, they were changed to cast aluminum. This essay is on the "Single Fork" nose. The "forked" nose wheel came along later. The single fork works well in my experience
Univair made their own replacement "dual fork" for a while out of flat aluminum. They now offer a forged aluminum fork, see their Illustrated Parts Catalog for Ercoupe, Forney, Alon and Mooney M-10. Note: When ever replacing the single fork illustrated here with the dual fork Always install a Belleville Spring Kit or some other means to raise the main wheels. Dual forks tend to be longer than the single fork so the angle of the wings will be too high when rolling on the ground. This effects ground handling and can be dangerous in sticky situations.
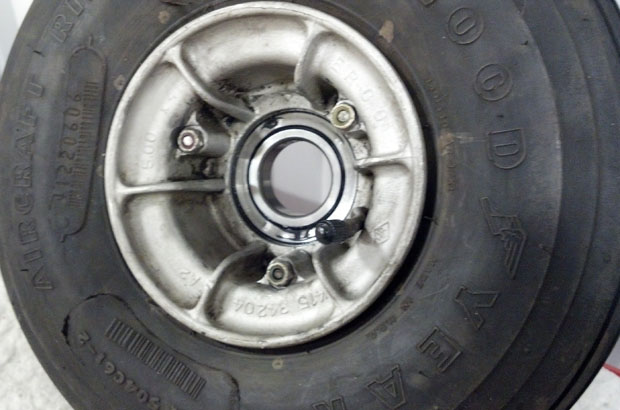
As shown above, the wheel has "split rims." That means it is in two halves that the 3 bolts hold together.
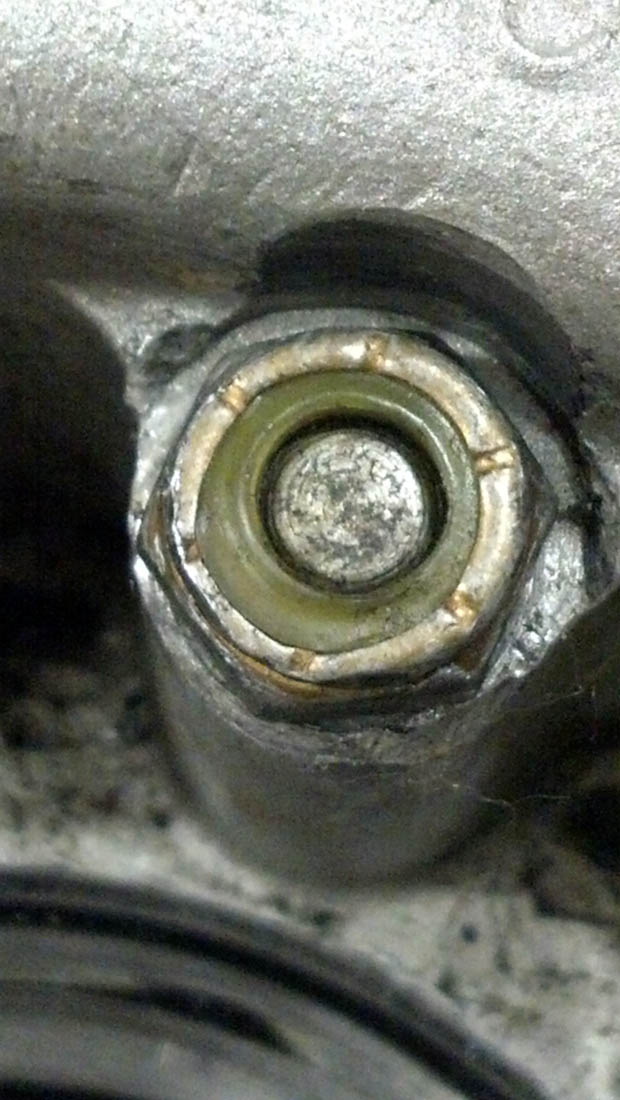
The first problem one encounters is getting the bolts off! As shown above, the fit is tight - very tight.
Because of the fit, a socked must be modified to get the nuts off. See below:
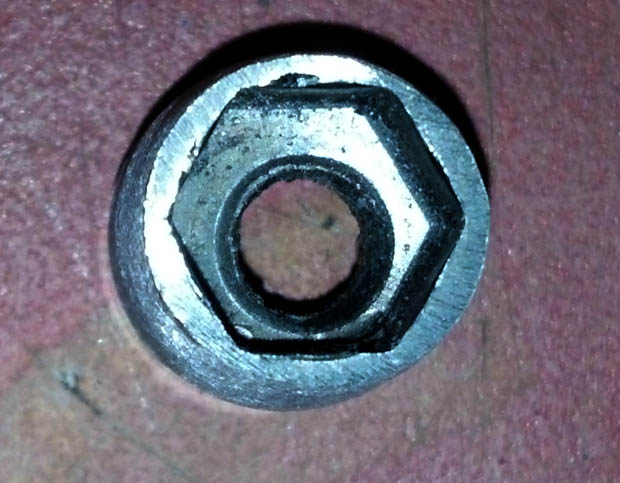
This is a basic (cheap!) 3/8ths drive socket. The walls have been ground down to fit, and the camphor was removed so it would fit down on the nuts.
The inside of the rim is now visible. Note the shiny part. That is a single bearing that the nose rolls on. (Per Ercoupe Service Memorandum No. 41, p. 6, par. 6(b) this is a SKF No. 6207-2RS bearing. )
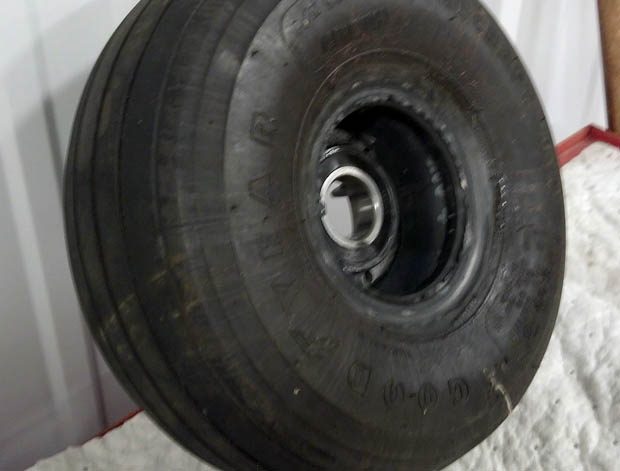
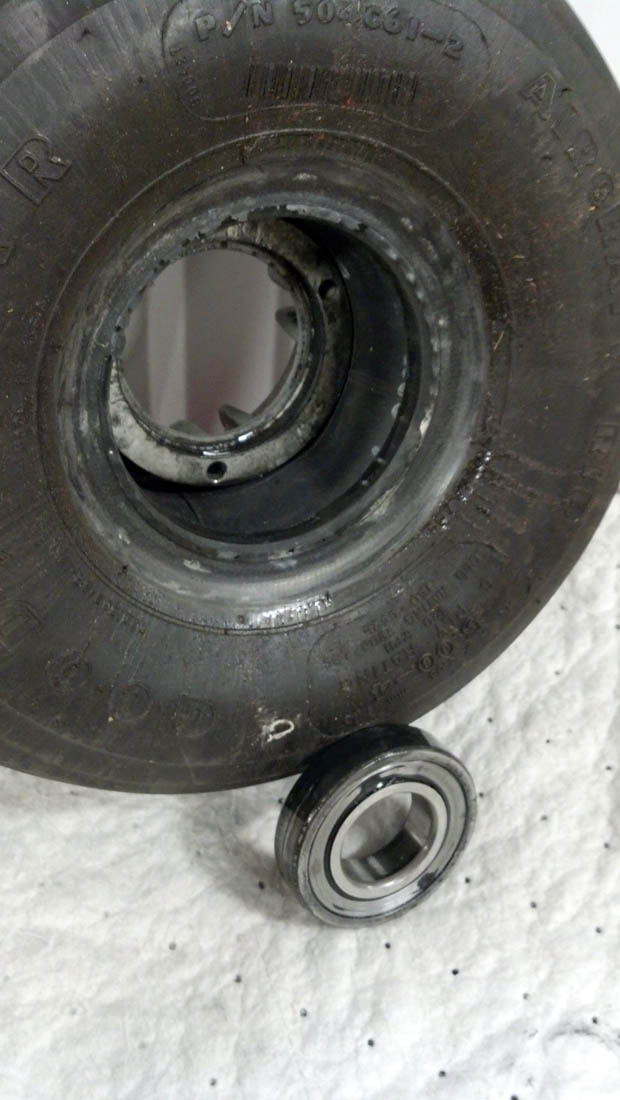 The above shows the bearing removed. It is a machine fit, not a pressed one, so just a tap will cause it to fall out.

The tube separated from the tire. Note the long, angled valve stem. Care must be taken upon reassembly not to use the stem as a handle and tear it out of the tube!
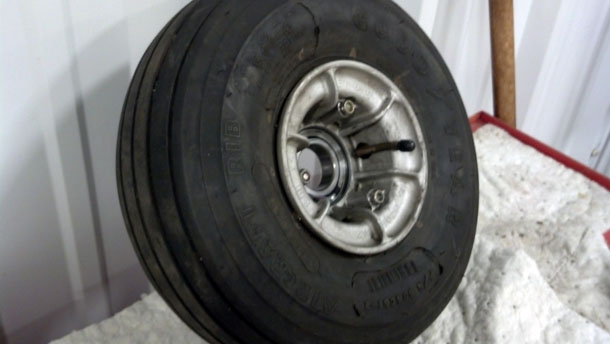
This is the tire ready to go back on the axle.
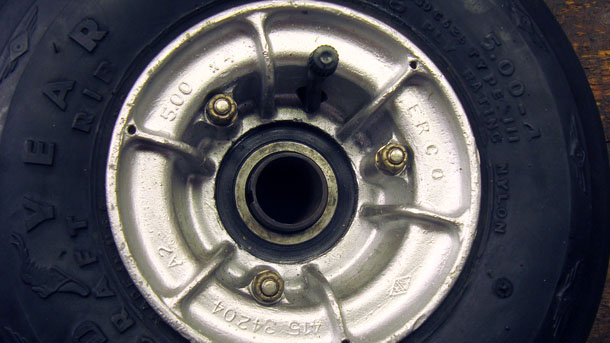
Slip over the axle.
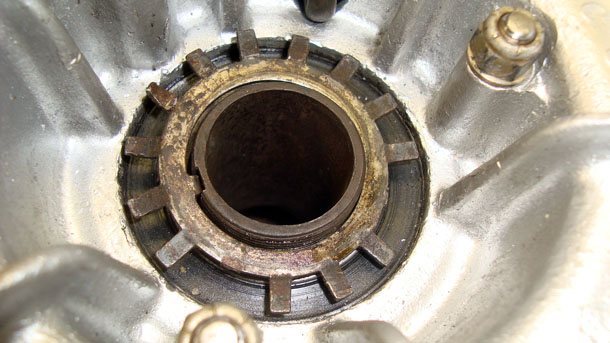
Shown is the lock washer. It is a special piece that has "catches" around the perimeter. These are bent to hold the nut in place. Since the nut tends to torque down in the same place, the washer tends to an "ear" and needs replacement from time to time.
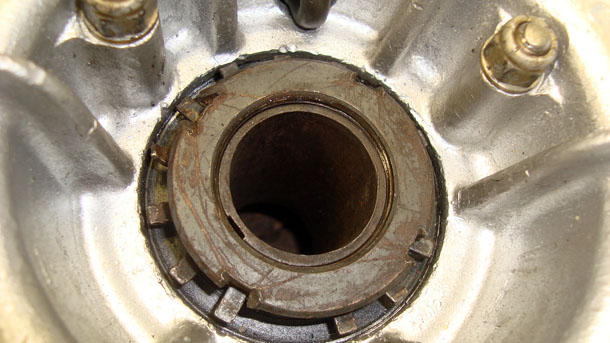
Here is a picture of the nut (415-34109) please note the notches. After 67 years of annuals, the corners were rounded. This is due to the nut being pounded off and on with a flat-tipped screwdriver! There should be a tool for such. Like this here: Nuttool
To fix this one, I used common metal working tools (hack saw, cut off wheel, files) to square up the notch edges.
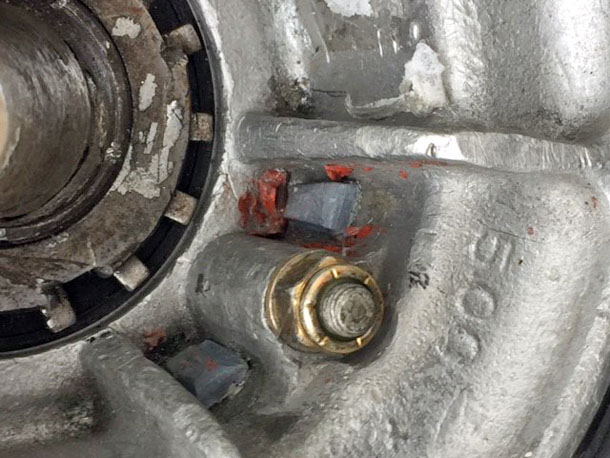
Finally balance the wheel . Small weights will make a huge difference.
Percy
SERVICE MEMORANDUM 41 covers this as well.
Page 6-MEMORANDUM No. 41
(b) Reassemble wheel.
( 1) Place tube in tire.
( 2) Press bearing (SKF No. 6207-2RS) illto left rim.
( 3) Place three bolts ( 415-34212) through left rim ( 415-34205) and press ill to place.
( 4) Slide tire and tube on left rim, then assemble right rim ( 415-34207) to left. Be sure valve stem comes through hole provided in right rim.
( 5) Secure rim together with three elastic stop nuts ( AN365-428), and tighten evenly.
( 6) Turn tire to align valve stem so that it protrudes straight through hole in right rim. Inflate tube to 20 P.S.I.
( 7) Balance wheel statically and dynamically. Automotive shop will do this if equipment is
not available. One ounce weights ( 415-341 14-7) and half ounce weights ( 415-341 14-6) are
available for this purpose.