Revovering Wings.
Wing recovering is not as hard as one may have cracked it up to be in one's mind! One's first move is to take the old cover off. Cloth covers must have a physical hold down as well as an adhesive one on aircraft that reach Ercoupe speeds. The Classic cloth cover in a `coupe is held on with "PK" screws. Below is a picture of how they look.
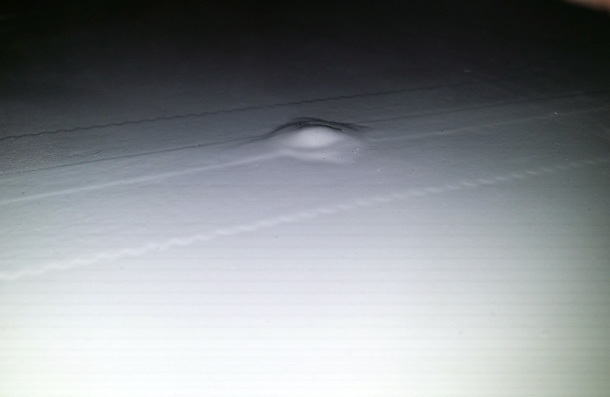
The below picture is the first attack on the 'PK' screws. The cover is cut through to get to the heads of the screws. The second picture shows the hole opened for access, and the tool used.

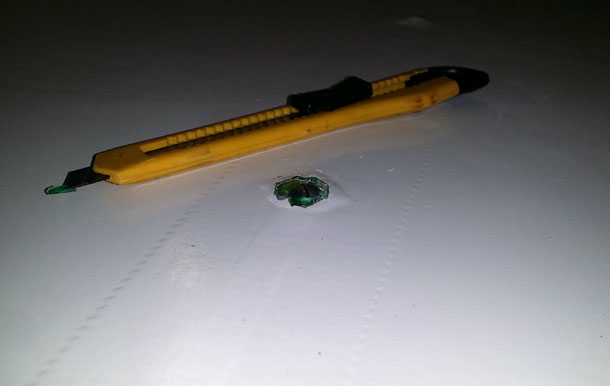
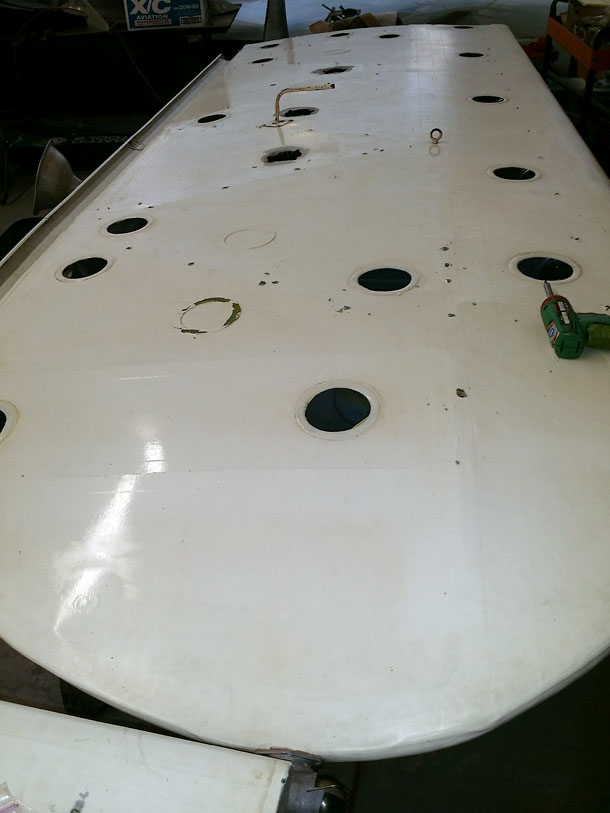
This shows the 'PK' screws all taken out. Note the drill used to remove. I find this a Best Practice only when removing screws. Always put them back in by hand so the holes are not enlarged. For the Ercoupe to last 100 years, it will probably need to be recovered at least 4 times.
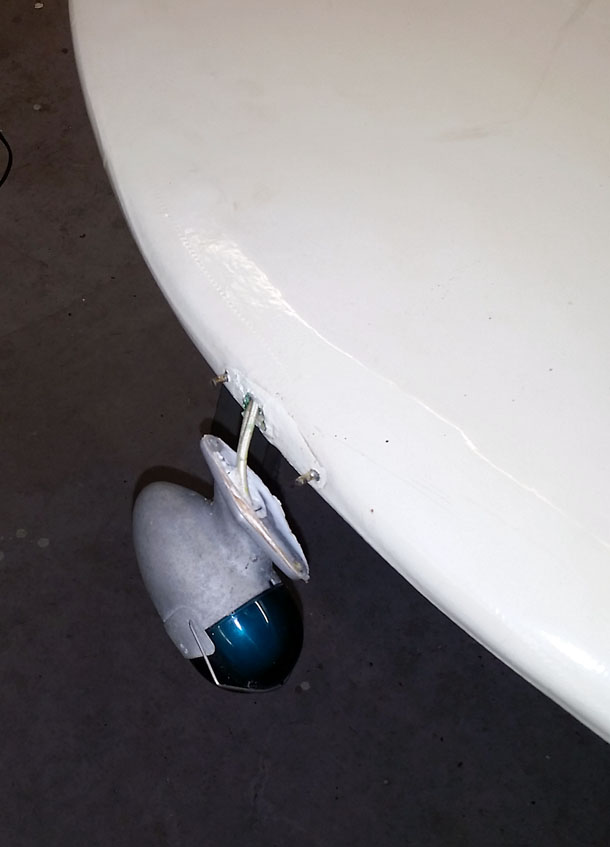
The wing tip lights have to be removed. The wire is disconnected where the wing joins the fuselage. Do Not loose the screws!
This picture shows the trailing edge. On the Ercoupe, this edge is sewn top and bottom to the wing. There are equally spaced holes to admit the thread. The usual rib stitching knot is used to connect the long thread that will be used.
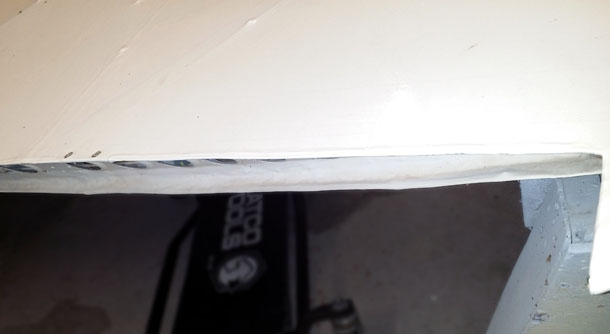
Here is the removal starting. One must use caution as the Randolph Process leaves sharp edges when cut! I have started pealing off the cover from the leading edge. It did not come off all that hard for being on there 34 years! Once the screws or other securing mechanism is gone, it goes quick.
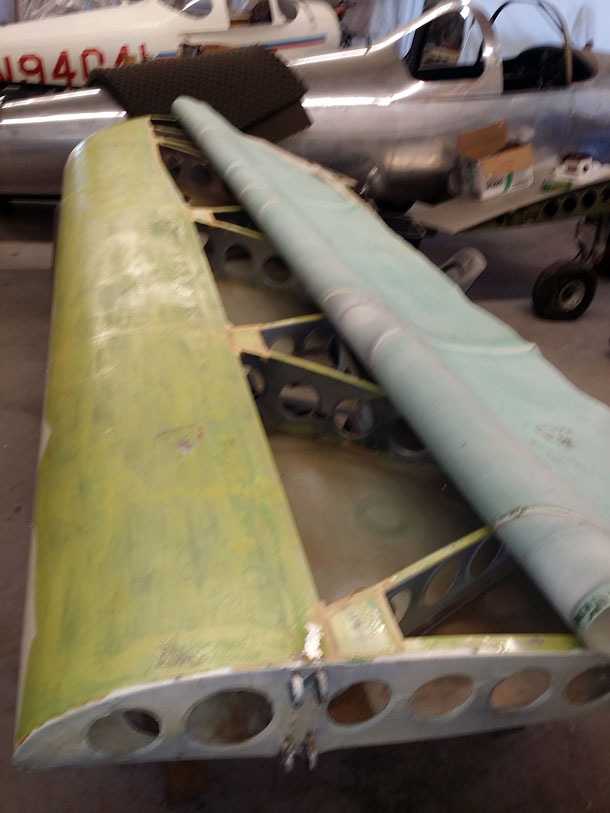
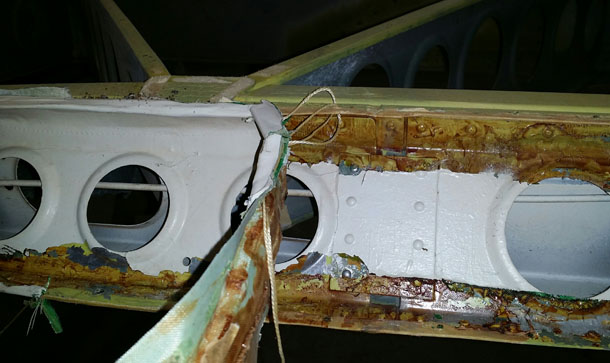
Here's why it is a Best Practice to remove the covers every now and then. A mouse had constructed it's home at the very end of my wing! Thankfully, it was on the fabric covered bottom rather than the aluminum top. There was only a little corrosion and a few bits to remove.
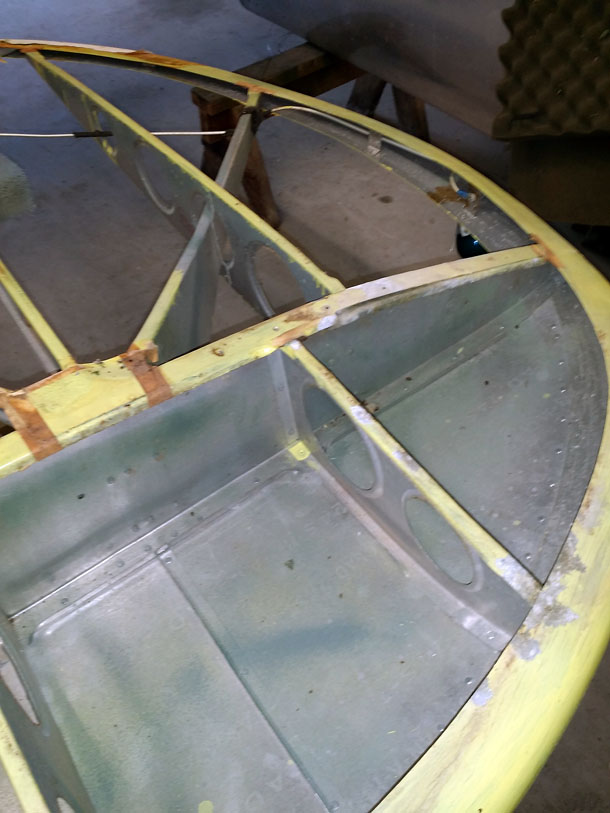
These two pictures are a better look at the mouse damage. That is why cats (and ferrets) are such popular hangar pets!
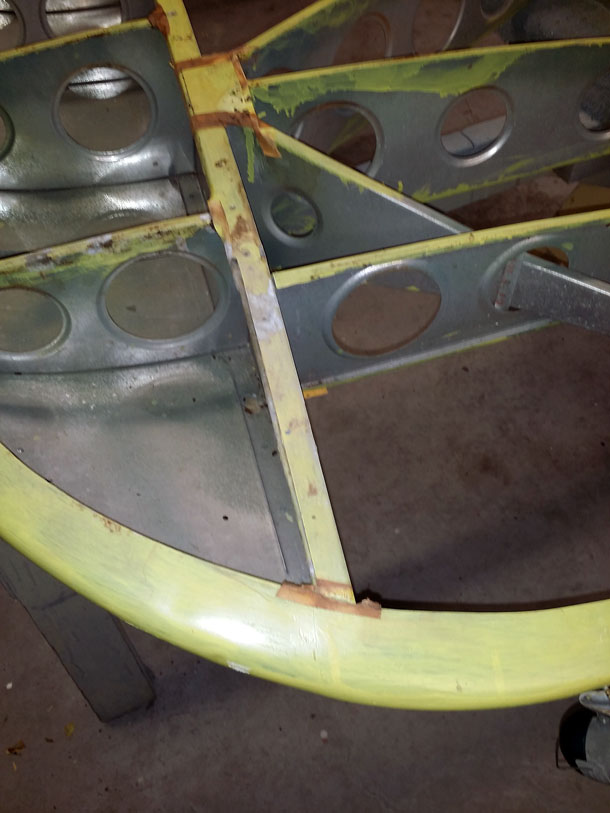
Closer to the the mouse damage.
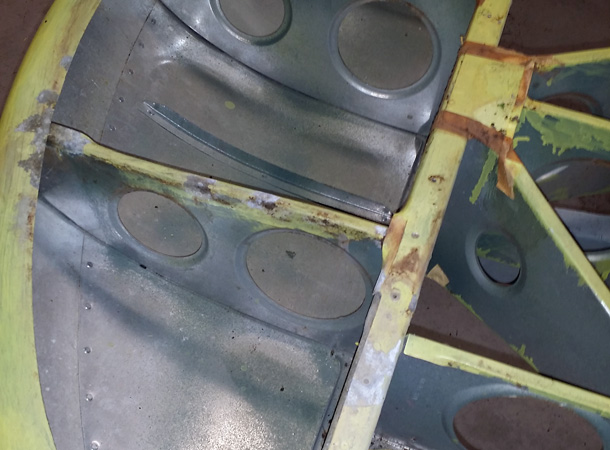
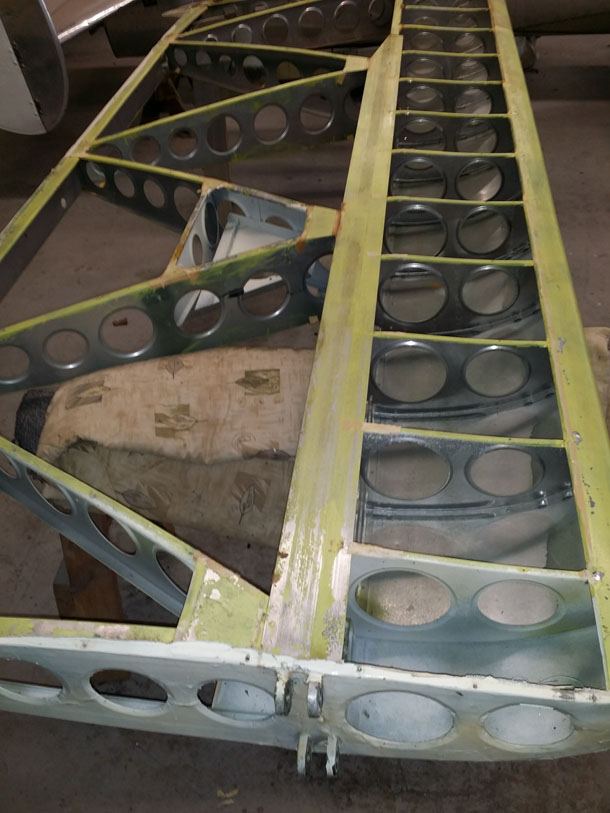
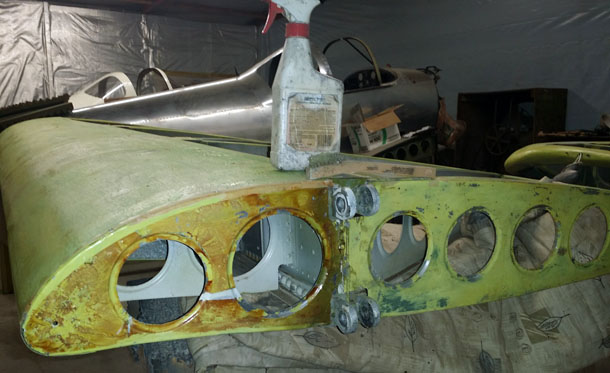 The biggest part on any "finishing" job is the preparation. Wing covering is a lot of work just getting ready. It is the hard, dummy work that takes the time and "elbow grease." Of that prep, taking the past treatments off is the biggest part! This photo shows the mearist slice of those hours. The end of the wing shows the 43013 airfoil, and has the old glue stripped off the rear section. My trusty wire brush, the best tool I have come up with so far, is sitting on top; along with a spray bottle for applying the Methyl Ethel Keytone (MEK). There is a "sweet spot' for MEK application - try to brush off too soon, and it has not done it's work yet. Too late and the MEK evaporates leaving the substance one is trying to remove as hard as ever! It is best to do a small area at a time, and go over it as many times as needed.
| << previous | next >> |